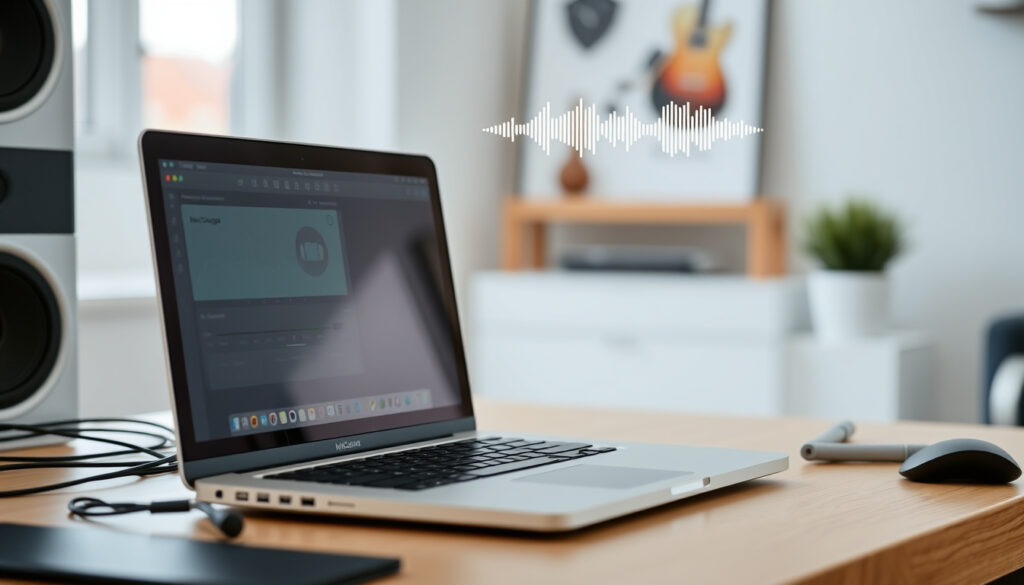
How to Screen Record on Mac: Built-in Methods & Audio
Anyone who has tried to screen record on a Mac to capture a tutorial or gameplay knows the feeling: the video looks great, but the audio is missing. Apple’s built-in tools handle video capture smoothly, yet they leave a gap when it comes to recording internal system sounds.
Built-in screen recording introduced: macOS Mojave (2018) · Default tools: Screenshot toolbar + QuickTime Player · Internal audio support (built-in): No – requires third-party software · Popular third-party recorders: OBS, Loom, ScreenFlow, Camtasia
Quick snapshot
- Mac includes two built-in screen recording tools (Hollyland)
- Screenshot toolbar does not record audio (Apple Discussions)
- QuickTime records external audio only (FonePaw)
- Third-party software is required for internal audio (AVG)
- Built-in screen recording introduced in macOS Mojave (2018) (Apple Support)
- Expect third-party tools to keep innovating; Apple may eventually add internal audio (Apple Discussions)
Six key facts at a glance: one persistent limitation stands out – the lack of native internal audio recording.
| Label | Value |
|---|---|
| Built-in screen recording introduced | macOS Mojave (2018) |
| Built-in tool name | Screenshot toolbar (Shift-Command-5) |
| QuickTime Player availability | Pre-installed on all Macs |
| Internal audio support (built-in) | No |
| Default save location | Desktop |
| File format | .mov or .mp4 (depending on tool) |
The table confirms the core problem: Apple ships the hardware but omits the software for internal audio capture.
How do you record your screen on a Mac?
Using the Screenshot toolbar (Shift-Command-5)
- Press Shift+Command+5 to open the toolbar (Apple Support)
- Select Record Entire Screen or Record Selected Portion
- Click Record – the toolbar captures only video, no audio (Hollyland)
After recording, a thumbnail appears; you can trim, share, or save it. The file lands on your desktop as .mov or .mp4.
The Screenshot toolbar is the simplest method, but its silence means you cannot capture system sounds or app audio without post-production work.
Recording with QuickTime Player
- Open QuickTime Player from Applications
- Menu bar: File > New Screen Recording (FonePaw)
- In the recording options, select a microphone for external audio
- Click the red Record button
QuickTime records video with any attached or built-in microphone, but it cannot capture internal system audio without a virtual audio driver (Apple Discussions).
The implication: QuickTime is a step up from the toolbar because it adds external audio, but it still leaves internal sounds silent.
How do I record a video with sound on my Mac?
Recording external audio with QuickTime
- In QuickTime’s screen recording options, choose a microphone input (AVG)
- Adjust input volume slider if needed
- Begin recording – your voice and ambient sounds are captured, but internal system audio remains absent
This works for narration-heavy recordings (tutorials, presentations) where commentary is the main audio track.
Capturing internal audio with third-party apps
- BlackHole: Free virtual audio driver – download from existential.audio, then configure via Audio MIDI Setup (Hollyland)
- Soundflower: Alternative driver – create an Aggregate Device in Audio MIDI Setup (FonePaw)
- OBS Studio: Free, open-source – on macOS Ventura or newer, OBS can capture internal audio without extra drivers (AVG)
Using a virtual audio driver adds setup complexity and occasional security prompts, but it is the only way to record internal audio with Apple’s native tools.
The trade-off: third-party apps like OBS and FonePaw Screen Recorder simplify the process with built-in toggles for System Sound, eliminating the need for Audio MIDI Setup (FonePaw).
Why isn’t there sound when I screen record on Mac?
Common causes: microphone permissions, wrong input source
- Screenshot toolbar: It never captures audio – no permission setting can change that (Hollyland)
- QuickTime: Microphone may be disabled in System Privacy settings (Apple Discussions)
- Wrong input: If no microphone is selected in QuickTime’s options, no audio is recorded
Solutions: check System Settings, select correct audio device
- Go to System Settings > Privacy & Security > Microphone – ensure QuickTime Player is enabled (FonePaw)
- In QuickTime, verify a microphone is chosen under Options > Microphone
- For internal audio, install a virtual driver (BlackHole or Soundflower) and select it as the input device (Hollyland)
The pattern: “no sound” almost always traces back to the limitation that built-in tools either ignore audio entirely or require a correctly configured external source.
How do I screen record on a MacBook Air with sound?
Same methods as other Macs
- MacBook Air (Intel or Apple Silicon) supports all built-in and third-party recording methods (AVG)
- Use QuickTime for external audio or a virtual driver for internal audio – identical setup to MacBook Pro and iMac
Using QuickTime for external audio
- Connect an external microphone (USB or 3.5mm) if built-in mic quality is insufficient (FonePaw)
- In QuickTime, select the external mic as input
Using OBS for internal audio
- Download OBS Studio (free, open-source) from obsproject.com
- Add a Screen Capture source and an Audio Output Capture source
- No virtual audio driver is needed on macOS Ventura+ (AVG)
Performance may vary on older MacBook Air models – expect slightly higher CPU usage during recording (Apple Discussions).
How do I stop screen recording on Mac?
Stop using the menu bar icon
- Click the Stop button (square icon) in the menu bar to end recording (Apple Support)
- The recording is saved automatically to the desktop
Keyboard shortcut: Control-Command-8
- Press Control+Command+8 to stop recording without clicking the menu bar icon (Hollyland)
If you forget to stop, the recording continues until you quit the app or hit the shortcut – a small but helpful shortcut to remember.
Step-by-Step Guide to Screen Recording on Mac
Method 1: Using Built-in Tools (No Internal Audio)
- Press Shift+Command+5 to open the Screenshot toolbar
- Choose Record Entire Screen or set a custom area
- Click Record – video only (Hollyland)
- To stop, click the Stop icon in the menu bar
Alternatively, open QuickTime Player, go to File > New Screen Recording, select a microphone, and record – external audio only.
Method 2: Recording with Internal Audio (Using BlackHole)
- Download and install BlackHole from existential.audio (YouTube – Quick Tips)
- Open Audio MIDI Setup (Applications > Utilities)
- Select BlackHole 16ch and route Built-in Output to it (Hollyland)
- Set BlackHole as output in System Settings > Sound
- Open QuickTime Player, File > New Screen Recording
- In options, select BlackHole as the microphone input
- Click Record – internal audio is now captured
For a simpler experience, download OBS Studio. Add a Screen Capture source and an Audio Output Capture source – no virtual driver setup needed on macOS Ventura+ (AVG).
Confirmed facts
- Mac includes two built-in screen recording tools (Hollyland)
- Screenshot toolbar does not record audio
- QuickTime records external audio only
- Third-party software is required for internal audio
What’s unclear
- Which third-party app is best for internal audio can vary by use case (Hollyland)
- Compatibility with future macOS versions for virtual audio drivers (FonePaw)
Quotes from trusted sources
“Take pictures or screen recordings using Screenshot.”
Apple Support (Apple Support)
“QuickTime Player can record with audio, but only from an external microphone.”
Avast Blog (AVG)
“BlackHole 2ch selected in recording options and Multi-Output Device in Audio MIDI Setup – this allows you to hear audio while recording.”
Apple Discussions (Apple Discussions)
For Mac users who need internal audio recording, the choice is clear: use a virtual audio driver with QuickTime and sacrifice simplicity, or adopt OBS and gain a straightforward toggle. The decision will define your recording workflow every time you hit record.
Related reading: how to screen record on mac internal audio built-in vs third-party step by step
For a more detailed walkthrough of the built-in tools, check out this comprehensive guide on screen recording on Mac.
Frequently asked questions
Can I record a specific window on Mac?
Yes – in the Screenshot toolbar, choose Record Selected Portion and drag to outline a window. In QuickTime, you can also select a window-sized region before recording.
How long can I screen record on Mac?
There is no time limit for built-in tools; recordings are limited only by available storage space on your drive.
Does screen recording affect performance?
Yes – recording uses CPU and GPU resources. On older Macs or while recording high-resolution content, you may notice slowdowns. Closing other apps helps.
How to record screen with mouse clicks visible?
In the Screenshot toolbar options, enable Show Mouse Click. QuickTime does not have this feature natively; third-party apps like ScreenFlow do.
How to trim a screen recording on Mac?
Open the recording in QuickTime Player, select Edit > Trim, drag the handles, and save. No additional software required.
Is there a free screen recorder for Mac without watermark?
Yes – OBS Studio is completely free and watermarks are optional. QuickTime also produces clean, watermark-free recordings.
Can I record screen on Mac without QuickTime?
Absolutely – use the Screenshot toolbar (Shift-Command-5) which works independently of QuickTime.
More related posts
 Grand National Horses 2026: Runners, Favourites, Results & Odds
 Bobby Sands: The 66-Day Hunger Strike That Changed History
 Great Yorkshire Show 2025 – Tickets, Dates and Highlights
 Bright Red Blood in Stool: Causes and When to Worry
 Queen Elizabeth II: Real Name, Last Words & Death Facts
 How to Have Sex Film: 2023 Cannes Winner & Consent Drama
 What Is Cardiovascular Disease – Causes, Symptoms, Types
 The Apprentice (2024 Film): Cast, Controversy & Streaming